
There is nothing worse than lagging in your game at the worst possible moment, really; lining up your perfect shot, and freeze, lag, game over.
If you want every single ounce of performance from your graphics card because you are fed up with FPS in games drops, NVIDIA Profile Inspector may be your best-kept secret.
This guide will show you how to use it to help boost your FPS in games without a tech degree.
Step 1: Download NVIDIA Profile Inspector
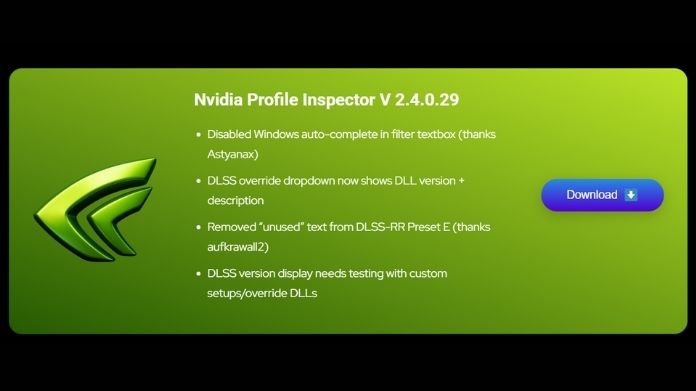
Before anything else, you’ll need to get your hands on the tool.
- Open up your web browser and search for “NVIDIA Profile Inspector”.
- You should find a trusted source like profileinspector.org containing the download.
- Download the
.zipfile and extract it anywhere on your PC. No installation is needed. - After extraction of the file, this file contains an ‘exe’ file; simply double-tap on it to launch it.
Tip: Make sure your graphics drivers are updated before starting. It makes a difference.
Step 2: Choose the Game Profile You Want to Tweak
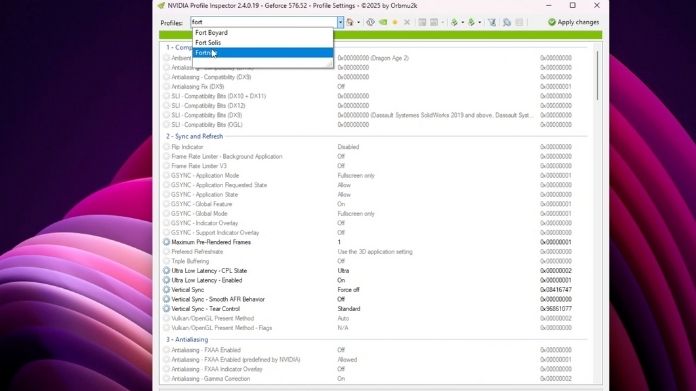
When the app opens, it might look a little rough, but don’t worry. Here’s what to do:
- Use the drop-down at the top to search for the game you want to optimize.
- Example: Let’s use Monster Hunter: World as our test case.
- After being chosen, the whole profile with many programmable options opens. You don’t have to replace them all, so don’t freak out.
Step 3: Tweak Key Settings for Better FPS in Games
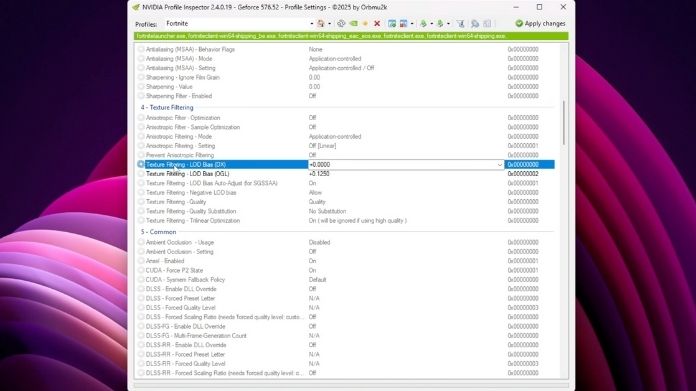
Here are the key settings that generally help in improving performance without sacrificing too much in quality:
- Texture Filtering – LOD Bias: Set this lower to reduce texture load.
- Anisotropic Filtering Mode: Try turning this off or setting it to Application-Controlled.
- Ambient Occlusion: If enabled, disabling it can provide a noticeable FPS in games boost.
You can find these options listed on the Steam Community guide as well, copy the values from there, or explore safely by changing one thing at a time and testing in-game.
Step 4: Use the NVIDIA Control Panel Too
For best results, you’ll want to combine Profile Inspector tweaks with a few changes in the NVIDIA Control Panel:
- Right-click your desktop and select NVIDIA Control Panel.
- Go to Manage 3D Settings > Program Settings.
- Select the same game (e.g., Monster Hunter: World).
- Adjust the following:
- Power Management Mode → Prefer Maximum Performance
- Vertical Sync → Off (or On if screen tearing occurs)
- Low Latency Mode → On or Ultra (depending on your GPU)
These settings help stabilize performance while letting your graphics card focus more on raw power than unnecessary eye candy.
Step 5: Test the Results
After tweaking, launch your game and see how it feels. Not only should you check the FPS counter, but also how smooth the gameplay feels, how fast load times have become, and whether lag spikes have disappeared.
In this case, it was immediate from our example (on a 1270×768 monitor): less lag, more stable gameplay, and random frame dips during heavy battles disappeared.
A Few Final Tips
- Always back up your settings before making big changes.
- Make one tweak at a time so you can see what really helps.
- Don’t chase ultra-high FPS in games; stable and smooth gameplay is what really matters.
- Bookmark the Steam Community guide mentioned earlier for quick reference.
You’re Ready!
So properly, tweaking your GPU with NVIDIA Profile Inspector is not all about the settings but ensuring that your gaming experience is as smooth and frustration-free as possible.
So go ahead, launch your favorite game, and enjoy the difference.
And hey, if you found this guide helpful, feel free to share it with a friend who’s still suffering from lag spikes.